
Fit Guide
How to determine your foot arch type, according to podiatrists
All you need is a piece of cardboard and some water — it’s seriously that easy.
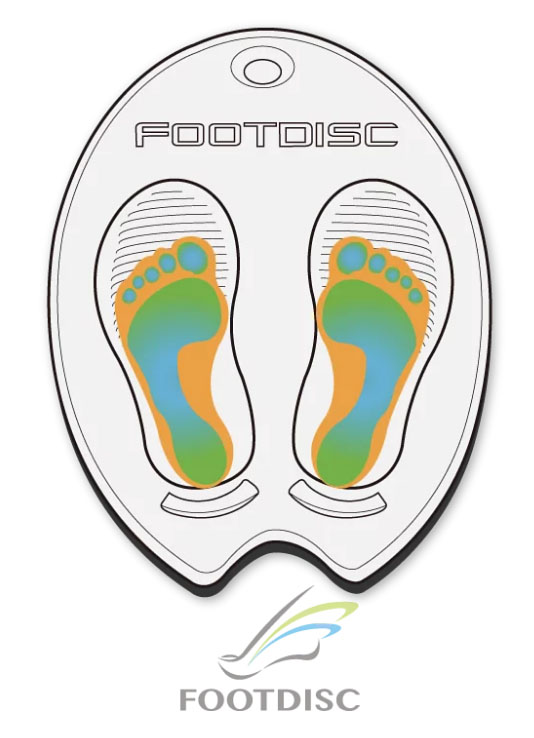
FOOTDISC foot measurement technology
FOOTDISC uses patented scientific research technology (EU patent: EP1844709 A1), which includes a FOOTDISC infrared sensor to examine your foot shape and configure a suitable personalized FOOTDISC insole based on your gait. After wearing it, it helps you self-correct your walking posture, improve foot pressure, and significantly reduce foot and back pain caused by foot
problems.
How to check and configure the right insole style?
Find the right one for you
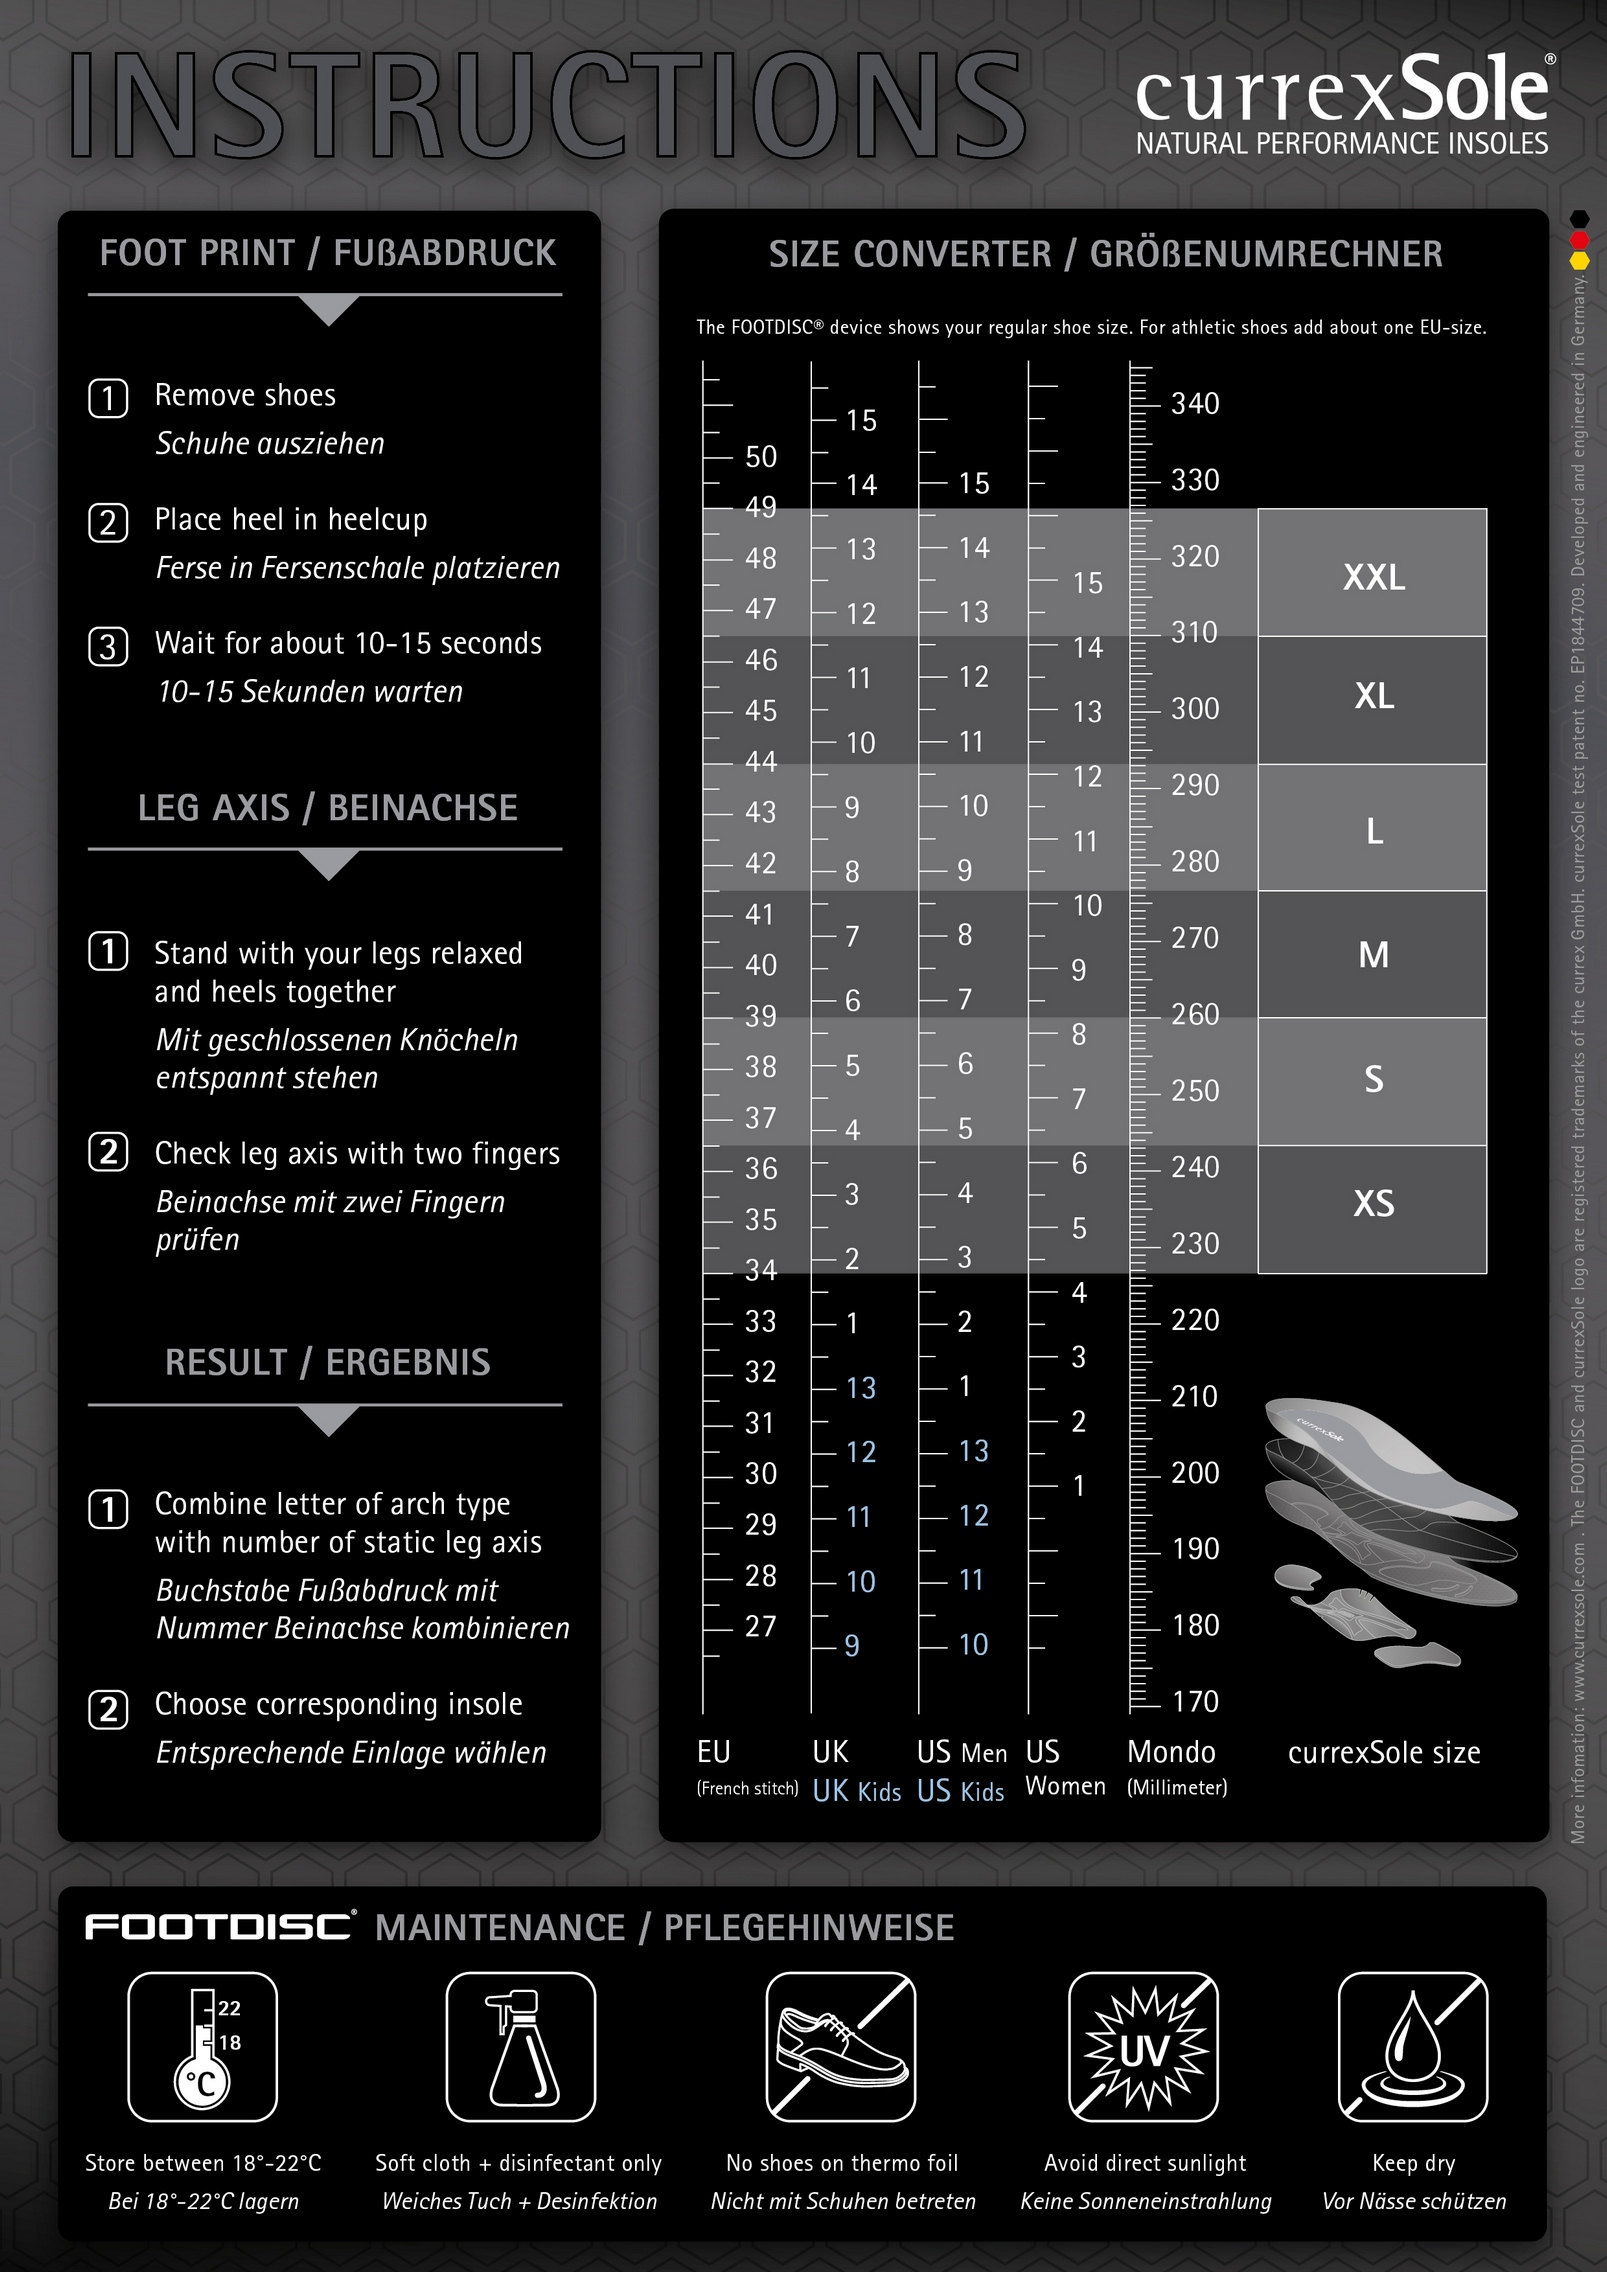
1. Simply stand on the FOOTDISC and measure your shoe size.
P.S. Please refer to the size conversion chart that comes with the FOOTDISC.
2. After 10 sec, observe the footprint’s shape and match against the chart.
3. Check your leg axis and match against the chart.
4.Choose the correct currexSole from the technician stool and place it in the shoe.
P.S. The technician stool is available as an add-on.
With this FOOTDISC foot shape measurement board, you can clearly see your foot shape in just 3 steps and configure the insole that best suits you! You are welcome to visit any DMS store for a free foot shape check.
Step 1
Please take off your shoes (but no need to take off your socks), put your heels back, raise your head and chest, relax and wait for ten seconds, then move your foot away, and the shape of your arch will immediately appear.
Step 2
Place your feet side by side (toes and heels together) and place two fingers between your knees to measure the width and axis of your feet.
Step 3
Refer to FOOTDISC's patented cross-reference chart to find the insole style that's best for you.
FOOTDISC Patent Cross-reference Table
 |  |
Do a foot scan at home
If you would like to do a foot exam at home and purchase Footdisc or Currexsole insoles online, please follow these 3 steps:
Step 1: Check your arch shape
Video Player
- Take off your shoes and socks, wet your feet with water, and step on a piece of newspaper to leave footprints;
- Repeat the steps for your right foot print. Find your arch shape in the chart.
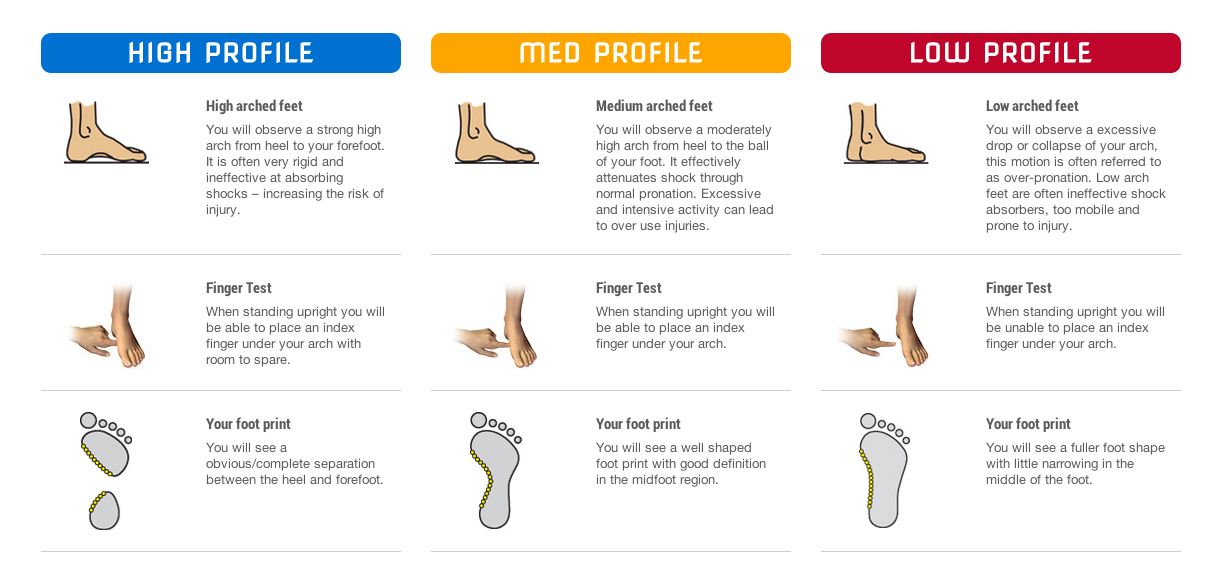
High arches – Only the heel and outer edge of the footprint are visible .
Medium arches – The footprint is evenly spaced.
Low arches – The footprint has a concave arch and is wider in the middle than a medium arch.
Flat feet – The arch is completely flat, and the entire sole of the foot is visible.
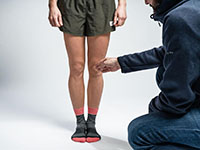
Step 2: Check your leg shape
Video Player

- Stand up straight, keeping your ankles as close together as possible;
- Do not force your knees together; just stand naturally.
- Find your leg shape on the chart: (A mirror can help)
Bowed Legs – Also known as "O-legs." At least two fingers can fit between the knees, and the ankles are close together.
Straight Legs – Just enough to fit two fingers between the knees, and the ankles are close together.
Knock-knees – Also known as "X-legs." At least two fingers can fit between the ankles, and the knees are close together.
Step 3: Merge the results
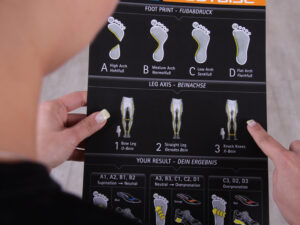

- Use the chart to find your foot shape and the right insole.
A1, A2, B1, B2: High arch – The blue currexsole with regular shoes is the best choice.
A3, B3, C1, C2, D1: Medium arch – The orange currexsole is the best choice. Orthotic shoes are recommended.
C3, D2, D3: Low arch – The red currexsole is the best choice. This protects your legs and ankles from muscle fatigue. Orthotic shoes are recommended. - Find your desired size in the size chart.